- Install Node.js 22.12 or higher, a supported package manager and Git.
- Confirm that you have the required Shopify store and theme permissions.
- Install Shopify CLI and verify the installed version.
- Pull the correct remote theme into a dedicated local folder.
- Commit the original theme to Git before modifying files.
- Use
shopify theme dev to preview local changes.- Run
shopify theme check before uploading work.- Pull recent remote changes before pushing if another person used the theme editor.
- Push changes to an unpublished theme for review.
- Publish only after testing and approval.
- Avoid pushing directly to the live theme during normal development.
Finding where a CSS class, Liquid snippet or JavaScript function is used can be difficult when working exclusively through Shopify’s online code editor. In a local editor such as Visual Studio Code, global search makes it easier to trace references across templates, sections, snippets and assets.
Local development also provides a safer foundation for version control. When several developers modify a theme, Git records changes and helps the team review and resolve conflicts. It does not eliminate conflicts automatically, so developers still need an agreed branching, review and deployment process.
Based on our experience working across more than 30 D2C Shopify stores, we use Shopify CLI to download theme files, preview local changes, run Theme Check and upload approved work to review themes. This reduces the need to edit production code directly.
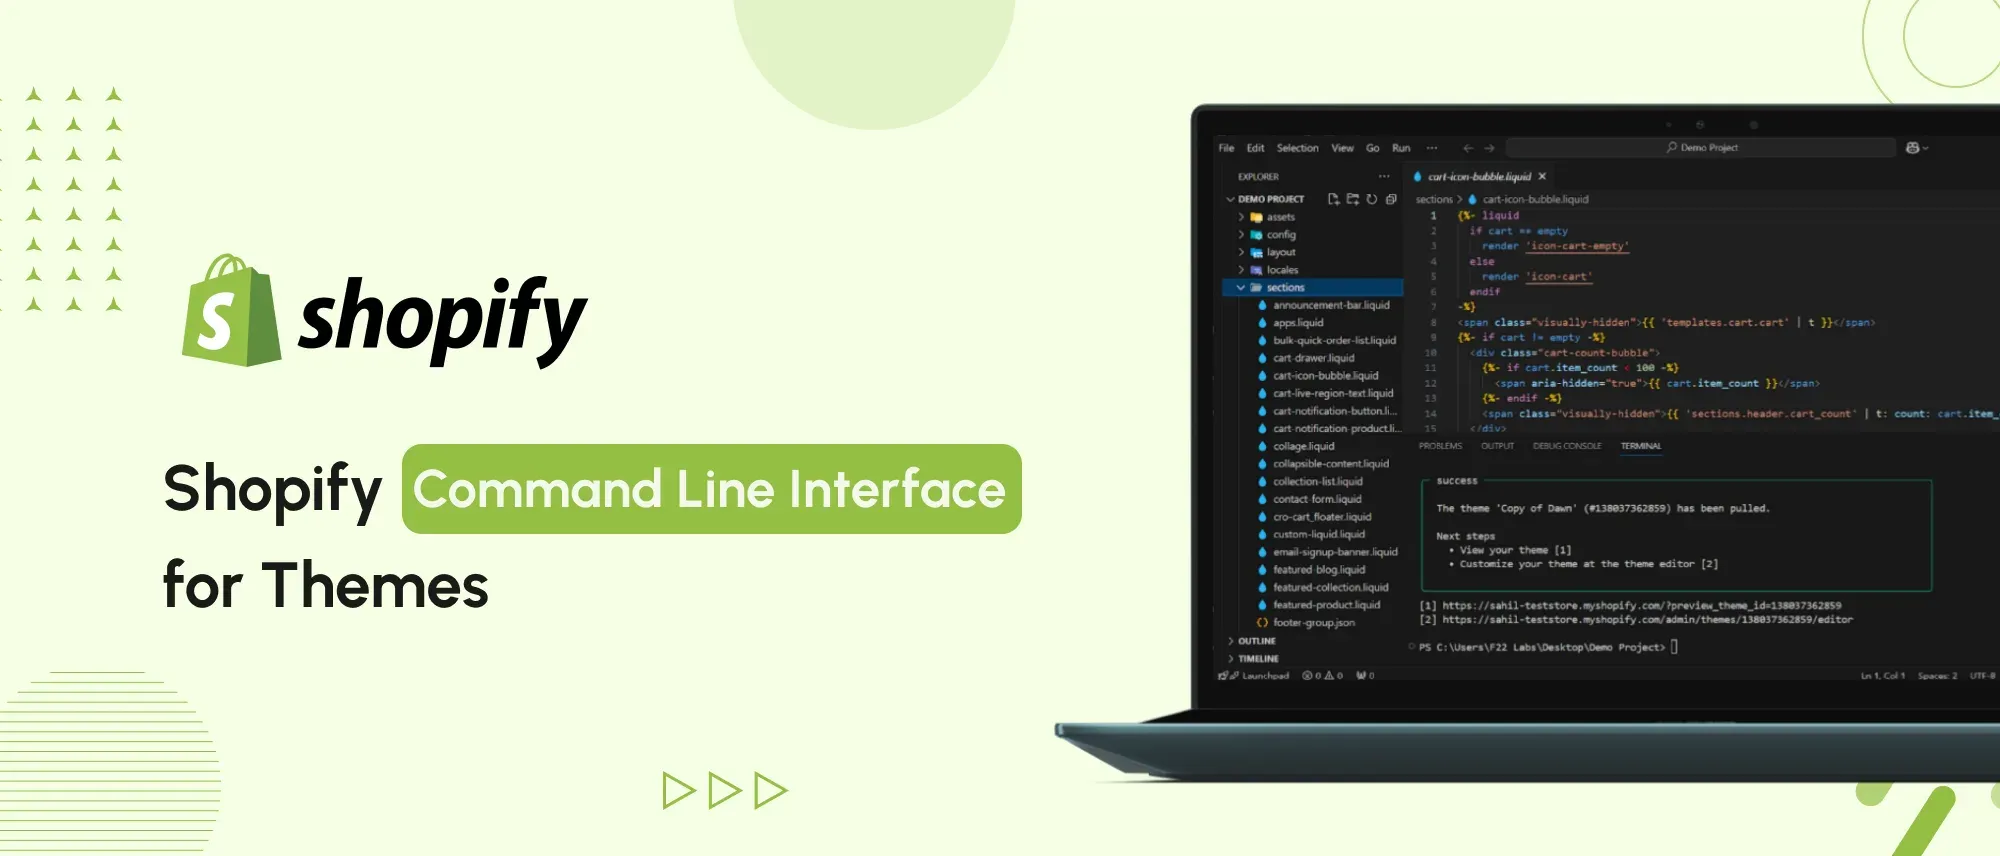
This guide covers a practical Shopify CLI theme-development workflow for an existing store: install the CLI, pull a theme, run a development preview, check the code and push it to an unpublished theme.
How to Use Shopify CLI for Theme Development in 10 Steps
Step 1. Check the Requirements
At the time of writing, Shopify lists these Shopify CLI requirements:
- Node.js 22.12 or higher
- npm, Yarn 1.x or pnpm
- Git 2.28.0 or higher
You also need:
- Access to the Shopify store
- Permission to work with themes
- The store’s permanent
.myshopify.comdomain - A terminal and local code editor
- A clear understanding of which theme you should pull
Check the installed versions:
node --version
npm --version
git --version
Because Shopify CLI requirements can change, confirm them in the official Shopify CLI documentation before installing or upgrading.
2. Install Shopify CLI
Install the latest Shopify CLI globally with npm:
npm install -g @shopify/cli@latestConfirm that the installation succeeded:
shopify versionIf the terminal cannot find shopify, restart the terminal and check whether the package manager’s global binary directory is included in your system path.
3. Pull the Shopify Theme into a Local Folder
Create a dedicated folder and open it:
mkdir my-shopify-theme
cd my-shopify-theme
List the themes available in the store:
shopify theme list --store store-name.myshopify.comThis displays theme names, IDs and statuses. Confirm whether the intended source is the live theme, an unpublished theme or another development copy.
Pull the selected theme:
shopify theme pull --store store-name.myshopify.comIf you do not provide a theme ID, Shopify CLI prompts you to select a theme. The command retrieves that theme’s files into the current directory. It does not ask you to select individual files.
You may be redirected to a browser to authenticate and authorise access.
Need Help With Shopify Development?
We build fast, custom Shopify stores designed to drive more sales.
For a less ambiguous team workflow, use the theme ID:
shopify theme pull \
  --store store-name.myshopify.com \
  --theme THEME_ID
Shopify documents the available options in the theme pull reference
4. Save the Original Theme in Git
Before editing the theme, initialise a Git repository and create a baseline commit:
git init
git add .
git commit -m "Save theme before local changes"
Create a branch for the change:
git switch -c feature/update-homepage-bannerGit provides change history and makes code review and conflict resolution easier. It does not prevent two developers from changing the same file.
If the repository already exists, follow the team’s existing branching and commit process instead of initialising a new repository.
5. Start a Local Theme Preview
Run:
shopify theme dev --store store-name.myshopify.comShopify CLI uploads the local files to a development theme and provides preview links. The local preview supports hot reloading for CSS and section changes and refreshes the page when other files change.
Keep the command running while you edit the theme. Do not treat the development theme as a permanent shared staging theme because development themes are intended for temporary previews.
Use the preview and theme-editor links displayed in your terminal. Keyboard shortcuts can change between Shopify CLI versions, so follow the options shown by your installed version.
6. Make and Preview the Theme Change
Use your editor’s global search to locate the text, class, ID or function you need to modify.
In Online Store 2.0 themes, homepage structure is commonly stored in templates/index.json, while the rendered markup and settings are defined in files under sections/. The exact file depends on the theme.
For merchant-editable content such as a banner heading, prefer changing the value through the development theme editor. Modify Liquid only when the section’s structure or behaviour needs to change.
As you save local files, the preview updates through Shopify CLI. Review the browser and terminal for Liquid errors, missing assets or JavaScript problems.
Do not assume that a text string visible on the storefront should always be hard-coded inside a Liquid file.
7. Check the Theme Before Uploading It
Run Shopify Theme Check:
shopify theme checkTheme Check analyses Liquid and theme files for errors and Shopify best-practice issues.
Review the output and correct relevant problems before pushing the theme. Also test the affected customer journey manually because Theme Check cannot confirm whether business functionality behaves correctly.
Commit the completed work:
git add .
git commit -m "Update homepage banner"
8. Push the Changes to an Unpublished Theme
For the first review upload, create a new unpublished theme:
shopify theme push \
  --unpublished \
  --store store-name.myshopify.com
Give the theme a clear name when prompted, such as:
Homepage banner reviewFor subsequent uploads, obtain the review theme’s ID:
shopify theme list --store store-name.myshopify.comPush to that specific unpublished theme:
shopify theme push \
  --store store-name.myshopify.com \
  --theme THEME_ID
The theme push command uploads local files and can overwrite the selected remote theme. Confirm the theme name, ID, and status before approving the upload.
If another developer or merchant has changed theme settings remotely, coordinate and pull the latest version before pushing. Otherwise, stale local JSON templates or settings can overwrite more recent remote changes.
Need Help With Shopify Development?
We build fast, custom Shopify stores designed to drive more sales.
Do not push directly to the live theme during ordinary development. Keep the existing live theme available as a recoverable version.
9. Review and Publish the Theme
Open the uploaded theme preview and test:
- The changed functionality
- Homepage, collection and product templates
- Mobile and desktop layouts
- Navigation and search
- Product variants
- Cart behaviour
- Application blocks
- Analytics and tracking
- Storefront performance
- Empty and error states
Once the unpublished theme has been tested and approved, you can publish it through Shopify Admin. Alternatively, confirm the theme ID and run:
shopify theme publish \
  --store store-name.myshopify.com \
  --theme THEME_ID
Publishing changes the storefront customers see. Verify the theme name, ID and approval status before running this command. Publishing should be a separate, deliberate action, not an automatic part of shopify theme push.
10. Avoid Overwriting Another Developer’s Work
- Confirm which remote theme the team is using.
- Check whether anyone has edited that theme through Shopify Admin.
- Pull recent remote changes when appropriate.
- Review Git differences.
- Resolve conflicts locally.
- Run Theme Check and manual tests.
- Push to the agreed unpublished theme.
- Publish only after approval.
For recurring projects, Shopify CLI also supports theme environments through a shopify.theme.toml file, allowing teams to define development and production settings without repeatedly entering flags.
Frequently Asked Questions
What is Shopify CLI used for in theme development?
Shopify CLI lets developers pull theme files, preview local changes, run Theme Check, upload themes, and perform other theme-development tasks through a terminal-based workflow.
What version of Node.js does Shopify CLI require?
Shopify currently lists Node.js 22.12 or higher. Requirements can change, so developers should verify the current version in Shopify’s official CLI documentation before installing or upgrading.
Does shopify theme dev change the live theme?
By default, shopify theme dev uses a development theme for previewing local work. The live storefront is not replaced simply because the local development command is running.
Can shopify theme push overwrite a Shopify theme?
Yes. The command uploads local files and can overwrite the selected remote theme. Confirm the theme ID and push to an unpublished review theme instead of the live theme.
Does Shopify CLI replace Git?
No. Shopify CLI transfers and previews theme files, while Git records changes, supports branches, and helps teams review and resolve conflicts. They solve different parts of the development workflow.
Should I pull a Shopify theme before pushing changes?
Pull the correct current version before beginning work and coordinate any later remote changes. Pulling carelessly over uncommitted local work can create conflicts or overwrite files, so commit first.
Conclusion
Shopify CLI makes local theme development easier to search, review, and test than editing production files directly. A reliable workflow is:
Pull → commit → branch → develop → check → push to an unpublished theme → review → publish
Based on our Shopify delivery experience, the most important safeguard is separating development, review, and live themes. Confirm the remote theme ID before every pull or push, and keep local work under version control.
If your project involves extensive Liquid, JavaScript, integrations, or coordinated theme deployment, you can hire Shopify experts to implement and review the changes.

Sahil Singh
I’m a Front-End developer with 1.3 years of experience creating user-friendly, optimized web pages. I specialize in developing features that boost conversion rates for e-commerce websites.