- Create a billing-enabled Google Cloud project.
- Enable Maps SDK for Android and Maps SDK for iOS.
- Create separate, restricted API keys for each platform.
- Install
google_maps_flutter and geolocator.Add the API keys to the Android and iOS projects.- Declare platform-specific location permissions.
- Render the map with the
GoogleMap widget.- Request runtime permission before enabling the location layer.
- Use stable IDs and marker clustering when displaying many locations.
- Configure API quotas and billing alerts before launching.
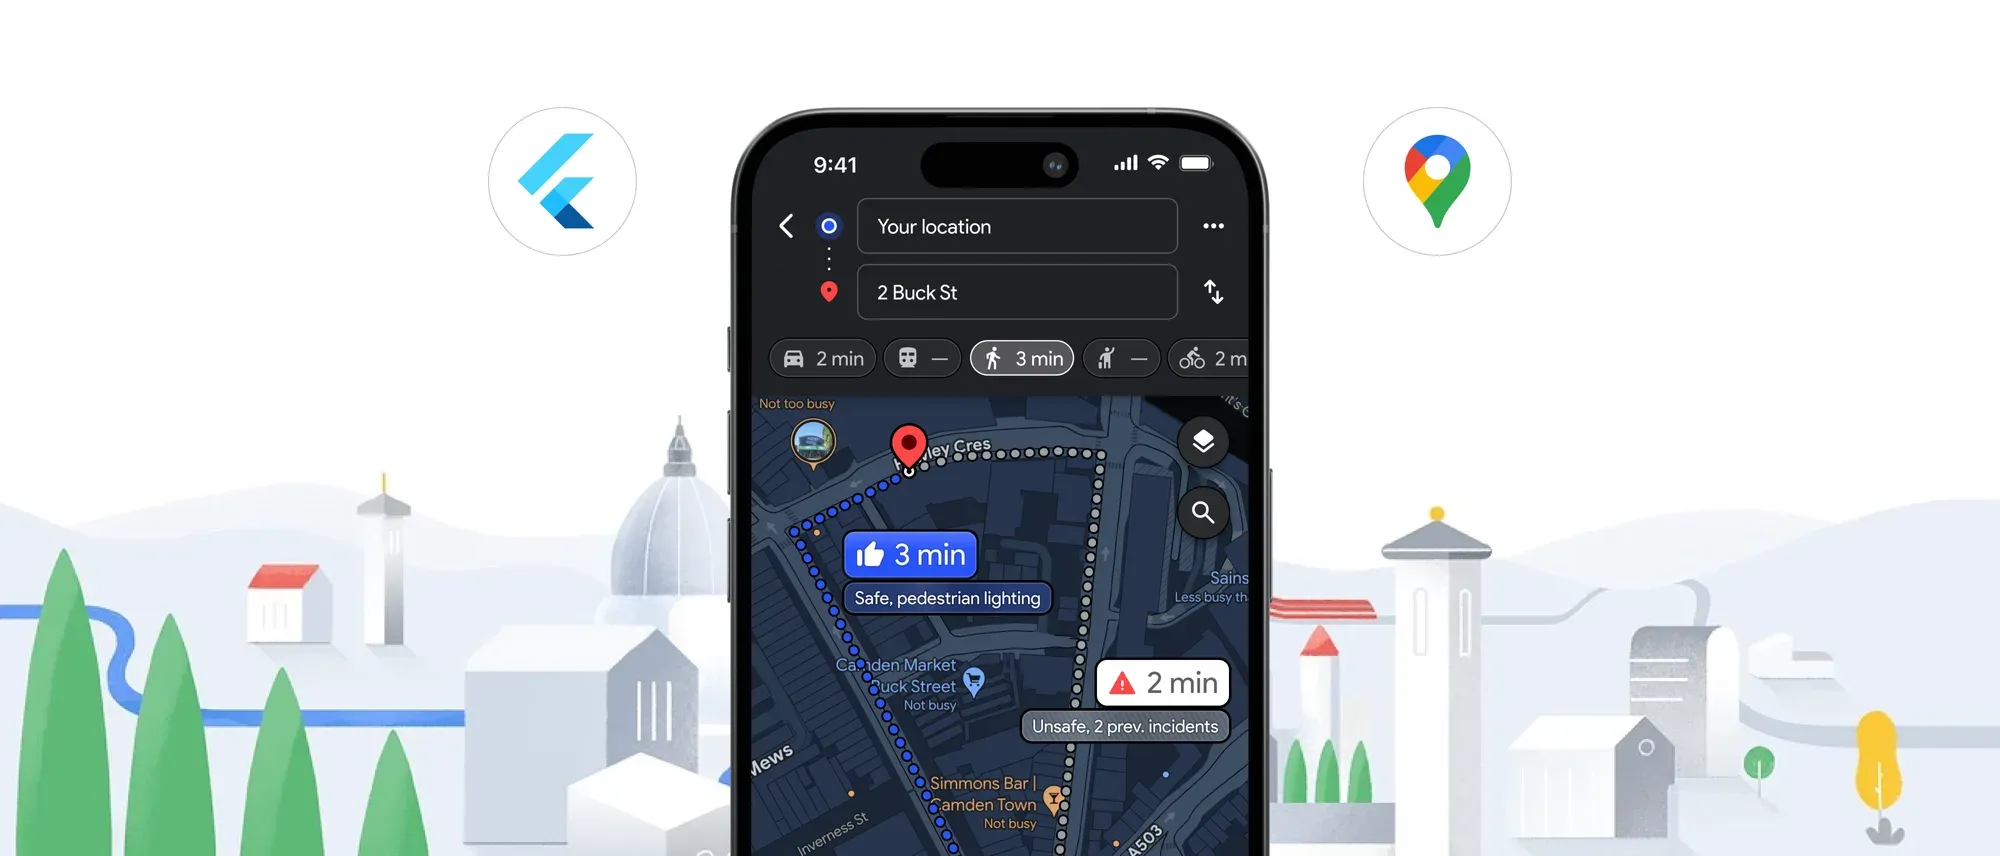
Adding Google Maps to a Flutter app takes only a few lines of Dart. Getting the complete feature right takes more work.
A production-ready integration needs correctly restricted API keys, Android and iOS configuration, runtime location permissions, marker management, error handling, and protection against unexpected Google Maps Platform usage.
In this guide, we will build a functional Flutter map that:
- Works on Android and iOS
- Displays an interactive Google Map
- Adds location markers
- Lets users select a location
- Requests location permission correctly
- Displays the user’s current location
- Moves the camera programmatically
- Handles common permission and configuration failures
The implementation uses the official google_maps_flutter package and the current geolocator APIs.
What Is Google Maps for Flutter?
Google Maps for Flutter is an official Flutter plugin for embedding interactive Google Maps in Android, iOS, and web applications. It provides Dart APIs for displaying maps, adding markers, drawing shapes, controlling the camera, and responding to map interactions.
The plugin displays and controls the map, but it does not provide every location-related capability.
| Requirement | Package or API |
| Display a Google Map | google_maps_flutter |
| Get the device’s GPS position | geolocator |
| Convert an address to coordinates | Geocoding API |
| Search for businesses or locations | Places API |
| Calculate driving routes | Routes API |
| Display route geometry | Flutter Polyline |
| Convert coordinates into an address | Reverse Geocoding API |
For example, google_maps_flutter can draw a polyline, but it cannot independently determine which roads a driver should take. A real navigation route must first be obtained from the Routes API.
Prerequisites
Before starting, make sure you have:
- Flutter installed and working
- Android Studio or an Android development environment
- Xcode and CocoaPods for iOS development
- A Google Cloud account
- A billing-enabled Google Cloud project
- An Android emulator or physical device
- An iOS Simulator or physical iPhone
Google requires billing to be enabled before Maps Platform services can be used, even if the application’s usage remains within a free monthly threshold.
Step 1: Create the Flutter Project
Create a new Flutter application:
flutter create flutter_maps_example
cd flutter_maps_example
Run the default project first:
flutter runFix any existing Flutter or native build issues before adding Google Maps. This makes it easier to identify whether a later error comes from Maps configuration or the underlying Flutter project.
Step 2: Install the Required Packages
Add the official Google Maps plugin:
flutter pub add google_maps_flutterAdd Geolocator for location permissions and GPS access:
flutter pub add geolocatorRun:
flutter pub get
flutter analyze
Using flutter pub add is preferable to copying an old package version from a tutorial. Flutter will choose a current version compatible with the project’s Dart and Flutter SDKs.
The package section in pubspec.yaml will resemble:
dependencies:
  flutter:
    sdk: flutter

  google_maps_flutter: ^2.18.0
  geolocator: ^14.0.3
These were the current releases when this guide was verified. If Flutter selects newer compatible versions, use those instead.
Step 3: Set Up Google Maps Platform
Open the Google Cloud Console and create or select a project.
Enable billing
Connect a billing account to the project. Maps SDK requests will not work correctly without a billing-enabled project.
Enable the Maps SDKs
Go to APIs & Services → Library and enable:
- Maps SDK for Android
- Maps SDK for iOS
If you plan to support Flutter web, also enable:
- Maps JavaScript API
Do not enable Places, Routes, or Geocoding unless your application actually uses them.
Create separate API keys
Create one key for Android and another for iOS.
For the Android key:
- Select Android apps under application restrictions.
- Add the application package name.
- Add the correct SHA-1 certificate fingerprint.
- Restrict the key to Maps SDK for Android.
For the iOS key:
- Select iOS apps under application restrictions.
- Add the application’s bundle identifier.
- Restrict the key to Maps SDK for iOS.
Google recommends separate keys because Android and iOS use different application restrictions.
Why the API key must be restricted
An API key embedded in a mobile application cannot be considered completely secret. A determined user can extract values from an APK or application bundle.
The practical protection comes from restricting the key to:
- The correct Android package and signing certificate
- The correct iOS bundle identifier
- Only the Google APIs required by the app
Never place an unrestricted server API key inside a Flutter application.
Step 4: Configure Google Maps for Android
Open:
android/app/src/main/AndroidManifest.xmlInside the <application> element, add:
<meta-data
    android:name="com.google.android.geo.API_KEY"
    android:value="YOUR_ANDROID_API_KEY" />
The file should resemble:
<manifest xmlns:android="http://schemas.android.com/apk/res/android">

    <application
        android:label="flutter_maps_example"
        android:name="${applicationName}"
        android:icon="@mipmap/ic_launcher">

        <meta-data
            android:name="com.google.android.geo.API_KEY"
            android:value="YOUR_ANDROID_API_KEY" />

        <!-- Existing Flutter activity configuration -->

    </application>

</manifest>
Replace YOUR_ANDROID_API_KEY with the Android-restricted key.
For a maintained production project, use Google’s Secrets Gradle Plugin or another build-configuration approach instead of committing the key directly. Key restrictions remain essential even when the value is stored outside Git.
Add Android location permissions
To access the user’s current location, add these permissions directly inside <manifest> and above <application>:
<uses-permission
    android:name="android.permission.ACCESS_COARSE_LOCATION" />

<uses-permission
    android:name="android.permission.ACCESS_FINE_LOCATION" />
The structure becomes:
<manifest xmlns:android="http://schemas.android.com/apk/res/android">

    <uses-permission
        android:name="android.permission.ACCESS_COARSE_LOCATION" />

    <uses-permission
        android:name="android.permission.ACCESS_FINE_LOCATION" />

    <application
        android:label="flutter_maps_example"
        android:name="${applicationName}"
        android:icon="@mipmap/ic_launcher">

        <meta-data
            android:name="com.google.android.geo.API_KEY"
            android:value="YOUR_ANDROID_API_KEY" />

        <!-- Existing Flutter activity configuration -->

    </application>

</manifest>
These declarations do not automatically grant location access. The Flutter application must still request permission at runtime.
Let’s Build Your Flutter App Together!
Work with our expert team to turn your app idea into a fast, stunning Flutter product.
Background-location permissions are not required for the implementation in this guide.
Step 5: Configure Google Maps for iOS
Open:
ios/Runner/AppDelegate.swiftImport Google Maps and provide the iOS key:
import Flutter
import GoogleMaps
import UIKit

@main
@objc class AppDelegate: FlutterAppDelegate {
  override func application(
    _ application: UIApplication,
    didFinishLaunchingWithOptions launchOptions:
      [UIApplication.LaunchOptionsKey: Any]?
  ) -> Bool {
    GMSServices.provideAPIKey("YOUR_IOS_API_KEY")

    GeneratedPluginRegistrant.register(with: self)

    return super.application(
      application,
      didFinishLaunchingWithOptions: launchOptions
    )
  }
}
Replace YOUR_IOS_API_KEY with the key restricted to your iOS bundle identifier.
Add the iOS location description
Open:
ios/Runner/Info.plistAdd this inside the main <dict>:
<key>NSLocationWhenInUseUsageDescription</key>
<string>
  We use your location to show your position on the map.
</string>
The message should explain the real user benefit. Avoid vague descriptions such as “Location is required.”
This guide only requests location while the application is in use. Background tracking requires different permissions, additional configuration, and a stronger privacy justification.
Step 6: Display a Basic Google Map
Replace lib/main.dart with this basic implementation:
import 'package:flutter/material.dart';
import 'package:google_maps_flutter/google_maps_flutter.dart';

void main() {
  runApp(const MapsApp());
}

class MapsApp extends StatelessWidget {
  const MapsApp({super.key});

  @override
  Widget build(BuildContext context) {
    return MaterialApp(
      debugShowCheckedModeBanner: false,
      title: 'Flutter Google Maps',
      theme: ThemeData(
        colorScheme: ColorScheme.fromSeed(
          seedColor: Colors.blue,
        ),
        useMaterial3: true,
      ),
      home: const MapScreen(),
    );
  }
}

class MapScreen extends StatefulWidget {
  const MapScreen({super.key});

  @override
  State<MapScreen> createState() => _MapScreenState();
}

class _MapScreenState extends State<MapScreen> {
  GoogleMapController? _mapController;

  static const LatLng _initialPosition = LatLng(
    13.0827,
    80.2707,
  );

  void _onMapCreated(GoogleMapController controller) {
    _mapController = controller;
  }

  @override
  void dispose() {
    _mapController?.dispose();
    super.dispose();
  }

  @override
  Widget build(BuildContext context) {
    return Scaffold(
      appBar: AppBar(
        title: const Text('Google Maps in Flutter'),
      ),
      body: GoogleMap(
        onMapCreated: _onMapCreated,
        initialCameraPosition: const CameraPosition(
          target: _initialPosition,
          zoom: 12,
        ),
        mapType: MapType.normal,
        compassEnabled: true,
        zoomControlsEnabled: true,
      ),
    );
  }
}
This creates a Google Map centred on Chennai.
Understanding the camera position
The initial view is controlled by CameraPosition:
const CameraPosition(
  target: LatLng(13.0827, 80.2707),
  zoom: 12,
  tilt: 0,
  bearing: 0,
)targetdefines the coordinates at the centre.zoomcontrols how much geographic area is visible.tiltchanges the viewing angle.bearingrotates the camera clockwise from north.
A zoom value around 10–13 is suitable for a city view. Higher values reveal streets and buildings, while lower values display larger regions.
Step 7: Add Markers
Markers identify locations such as stores, delivery points, properties, hospitals, or event venues.
Add a marker collection to _MapScreenState:
final Set<Marker> _markers = {
  const Marker(
    markerId: MarkerId('chennai'),
    position: LatLng(13.0827, 80.2707),
    infoWindow: InfoWindow(
      title: 'Chennai',
      snippet: 'Tamil Nadu, India',
    ),
  ),
};
Pass it to the map:
GoogleMap(
  onMapCreated: _onMapCreated,
  initialCameraPosition: const CameraPosition(
    target: _initialPosition,
    zoom: 12,
  ),
  markers: _markers,
)
Add a marker when the user taps the map
Create the following method:
void _addMarker(LatLng position) {
  final marker = Marker(
    markerId: MarkerId(
      '${position.latitude}-${position.longitude}',
    ),
    position: position,
    infoWindow: InfoWindow(
      title: 'Selected location',
      snippet:
          '${position.latitude.toStringAsFixed(5)}, '
          '${position.longitude.toStringAsFixed(5)}',
    ),
  );

  setState(() {
    _markers
      ..clear()
      ..add(marker);
  });
}
Connect it to GoogleMap:
GoogleMap(
  onMapCreated: _onMapCreated,
  initialCameraPosition: const CameraPosition(
    target: _initialPosition,
    zoom: 12,
  ),
  markers: _markers,
  onTap: _addMarker,
)
This implementation preserves only the most recently selected marker. Remove _markers.clear() if users should be allowed to place multiple markers.
Use stable, unique MarkerId values. Recreating every marker with unrelated IDs during each widget rebuild can cause unnecessary native-map updates.
Step 8: Request the User’s Location
Import Geolocator:
import 'package:geolocator/geolocator.dart';Add these state variables:
bool _locationPermissionGranted = false;
String? _locationError;
Create a method that checks services and permissions before obtaining the location:
Future<void> _enableLocation() async {
  final serviceEnabled =
      await Geolocator.isLocationServiceEnabled();

  if (!mounted) return;

  if (!serviceEnabled) {
    setState(() {
      _locationError =
          'Turn on location services to continue.';
    });
    return;
  }

  var permission = await Geolocator.checkPermission();

  if (permission == LocationPermission.denied) {
    permission = await Geolocator.requestPermission();
  }

  if (!mounted) return;

  if (permission == LocationPermission.denied) {
    setState(() {
      _locationError =
          'Location permission was not granted.';
    });
    return;
  }

  if (permission == LocationPermission.deniedForever) {
    setState(() {
      _locationError =
          'Enable location permission in system settings.';
    });
    return;
  }

  setState(() {
    _locationPermissionGranted = true;
    _locationError = null;
  });

  try {
    final position = await Geolocator.getCurrentPosition(
      locationSettings: const LocationSettings(
        accuracy: LocationAccuracy.high,
        timeLimit: Duration(seconds: 15),
      ),
    );

    if (!mounted) return;

    await _mapController?.animateCamera(
      CameraUpdate.newCameraPosition(
        CameraPosition(
          target: LatLng(
            position.latitude,
            position.longitude,
          ),
          zoom: 16,
        ),
      ),
    );
  } catch (error) {
    if (!mounted) return;

    setState(() {
      _locationError =
          'Your current location could not be retrieved.';
    });
  }
}
The mounted checks prevent the widget from calling setState() after the user has left the screen.
The 15-second limit also prevents the request from waiting indefinitely when GPS reception is poor.
Step 9: Enable the Location Layer
The Google Map can display the user’s position as a blue dot. Only enable it after permission has been granted:
GoogleMap(
  onMapCreated: _onMapCreated,
  initialCameraPosition: const CameraPosition(
    target: _initialPosition,
    zoom: 12,
  ),
  markers: _markers,
  onTap: _addMarker,
  myLocationEnabled: _locationPermissionGranted,
  myLocationButtonEnabled: _locationPermissionGranted,
)
Add a location button to the Scaffold:
floatingActionButton: FloatingActionButton.extended(
  onPressed: _enableLocation,
  icon: const Icon(Icons.my_location),
  label: const Text('My location'),
),
Do not set myLocationEnabled: true before checking permission. Doing so can produce platform errors or inconsistent behaviour.
Complete Working Flutter Example
The following example combines the map, marker selection, runtime location permission, current-location camera movement, and basic error handling:
import 'package:flutter/material.dart';
import 'package:geolocator/geolocator.dart';
import 'package:google_maps_flutter/google_maps_flutter.dart';

void main() {
  runApp(const MapsApp());
}

class MapsApp extends StatelessWidget {
  const MapsApp({super.key});

  @override
  Widget build(BuildContext context) {
    return MaterialApp(
      debugShowCheckedModeBanner: false,
      title: 'Flutter Google Maps',
      theme: ThemeData(
        colorScheme: ColorScheme.fromSeed(
          seedColor: Colors.blue,
        ),
        useMaterial3: true,
      ),
      home: const MapScreen(),
    );
  }
}

class MapScreen extends StatefulWidget {
  const MapScreen({super.key});

  @override
  State<MapScreen> createState() => _MapScreenState();
}

class _MapScreenState extends State<MapScreen> {
  GoogleMapController? _mapController;

  static const LatLng _initialPosition = LatLng(
    13.0827,
    80.2707,
  );

  final Set<Marker> _markers = {
    const Marker(
      markerId: MarkerId('chennai'),
      position: _initialPosition,
      infoWindow: InfoWindow(
        title: 'Chennai',
        snippet: 'Tamil Nadu, India',
      ),
    ),
  };

  bool _locationPermissionGranted = false;
  String? _locationError;

  void _onMapCreated(GoogleMapController controller) {
    _mapController = controller;
  }

  void _addMarker(LatLng position) {
    final marker = Marker(
      markerId: MarkerId(
        '${position.latitude}-${position.longitude}',
      ),
      position: position,
      infoWindow: InfoWindow(
        title: 'Selected location',
        snippet:
            '${position.latitude.toStringAsFixed(5)}, '
            '${position.longitude.toStringAsFixed(5)}',
      ),
    );

    setState(() {
      _markers
        ..clear()
        ..add(marker);
    });
  }

  Future<void> _enableLocation() async {
    final serviceEnabled =
        await Geolocator.isLocationServiceEnabled();

    if (!mounted) return;

    if (!serviceEnabled) {
      setState(() {
        _locationError =
            'Turn on location services to continue.';
      });
      return;
    }

    var permission = await Geolocator.checkPermission();

    if (permission == LocationPermission.denied) {
      permission = await Geolocator.requestPermission();
    }

    if (!mounted) return;

    if (permission == LocationPermission.denied) {
      setState(() {
        _locationError =
            'Location permission was not granted.';
      });
      return;
    }

    if (permission == LocationPermission.deniedForever) {
      setState(() {
        _locationError =
            'Enable location permission in system settings.';
      });
      return;
    }

    setState(() {
      _locationPermissionGranted = true;
      _locationError = null;
    });

    try {
      final position =
          await Geolocator.getCurrentPosition(
        locationSettings: const LocationSettings(
          accuracy: LocationAccuracy.high,
          timeLimit: Duration(seconds: 15),
        ),
      );

      if (!mounted) return;

      await _mapController?.animateCamera(
        CameraUpdate.newCameraPosition(
          CameraPosition(
            target: LatLng(
              position.latitude,
              position.longitude,
            ),
            zoom: 16,
          ),
        ),
      );
    } catch (error) {
      if (!mounted) return;

      setState(() {
        _locationError =
            'Your current location could not be retrieved.';
      });
    }
  }

  @override
  void dispose() {
    _mapController?.dispose();
    super.dispose();
  }

  @override
  Widget build(BuildContext context) {
    return Scaffold(
      appBar: AppBar(
        title: const Text('Google Maps in Flutter'),
      ),
      body: Stack(
        children: [
          GoogleMap(
            onMapCreated: _onMapCreated,
            initialCameraPosition:
                const CameraPosition(
              target: _initialPosition,
              zoom: 12,
            ),
            markers: _markers,
            onTap: _addMarker,
            myLocationEnabled:
                _locationPermissionGranted,
            myLocationButtonEnabled:
                _locationPermissionGranted,
            compassEnabled: true,
            zoomControlsEnabled: true,
          ),
          if (_locationError != null)
            Positioned(
              left: 16,
              right: 16,
              bottom: 16,
              child: Material(
                color: Colors.red.shade700,
                borderRadius: BorderRadius.circular(8),
                child: Padding(
                  padding: const EdgeInsets.all(12),
                  child: Text(
                    _locationError!,
                    style: const TextStyle(
                      color: Colors.white,
                    ),
                  ),
                ),
              ),
            ),
        ],
      ),
      floatingActionButton:
          FloatingActionButton.extended(
        onPressed: _enableLocation,
        icon: const Icon(Icons.my_location),
        label: const Text('My location'),
      ),
    );
  }
}
The Dart APIs in this example are real package APIs. The application will still require valid Google Maps keys, enabled SDKs, correct platform permissions, and compatible package versions before it can run successfully.
Changing the Map Type
Google Maps for Flutter supports several map styles:
MapType.normal
MapType.satellite
MapType.terrain
MapType.hybrid
MapType.none
Apply one through the map:
GoogleMap(
  mapType: MapType.hybrid,
  initialCameraPosition: const CameraPosition(
    target: _initialPosition,
    zoom: 12,
  ),
)
If users can switch map types, store the selection in state:
MapType _mapType = MapType.normal;

void _toggleMapType() {
  setState(() {
    _mapType = _mapType == MapType.normal
        ? MapType.satellite
        : MapType.normal;
  });
}
Then use:
GoogleMap(
  mapType: _mapType,
  initialCameraPosition: const CameraPosition(
    target: _initialPosition,
    zoom: 12,
  ),
)
Only include a map-style control when it adds value. A store locator usually benefits from one consistent map presentation, while a travel or property application may benefit from satellite imagery.
Drawing a Polyline
A polyline joins a list of coordinates:
final Set<Polyline> _polylines = {
  const Polyline(
    polylineId: PolylineId('sample-line'),
    color: Colors.blue,
    width: 5,
    points: [
      LatLng(13.0827, 80.2707),
      LatLng(13.0674, 80.2376),
      LatLng(13.0067, 80.2206),
    ],
  ),
};
Pass it to the map:
GoogleMap(
  initialCameraPosition: const CameraPosition(
    target: _initialPosition,
    zoom: 12,
  ),
  markers: _markers,
  polylines: _polylines,
)
This only connects the coordinates provided. It does not calculate a driving route.
For real route navigation:
- Send the origin and destination to the Routes API.
- Receive the calculated route geometry.
- Decode the returned polyline.
- Convert its points into
LatLngvalues. - Display those points using Flutter’s
Polyline.
Do not draw a straight line between two locations and present it as a road route.
Performance Best Practices
1. Cluster large marker collections
Displaying a handful of markers is inexpensive. Displaying thousands at the same zoom level can make the map difficult to use and increase rendering work.
Marker clustering groups nearby locations into one visual marker until the user zooms in. Google provides an official Flutter clustering example.
2. Load only visible locations
Do not download every location in the database when the user can see only one city. Request data based on the map’s visible geographic bounds.
Let’s Build Your Flutter App Together!
Work with our expert team to turn your app idea into a fast, stunning Flutter product.
3. Avoid unnecessary marker rebuilding
Use consistent marker IDs and update only markers that changed. Replacing the entire collection repeatedly creates unnecessary communication between Dart and the native map.
4. Wait for camera movement to stop
onCameraMove fires frequently while a user drags or zooms. Avoid starting a network request for every event.
Use onCameraIdle:
GoogleMap(
  onCameraIdle: () {
    // Load locations for the visible area.
  },
)
For more complex applications, debounce requests and cancel outdated ones.
5. Dispose of resources
Dispose of map controllers, location-stream subscriptions, timers, and other resources when the screen is removed. This prevents duplicate listeners and unnecessary background activity.
Accessibility and User Experience
A map should not be the only way to access important information.
Provide:
- A list view containing the same locations
- Clear labels for custom map controls
- Large touch targets
- Sufficient colour contrast
- Useful marker information
- A manual search option
- An explanation before requesting location
- A usable map even when permission is denied
If the user rejects location permission, do not block the complete page. Allow them to search for an address, select a city, or move the map manually.
Common Google Maps Flutter Errors
1. The map displays a blank or grey screen
Check:
- Whether billing is enabled
- Whether the correct Maps SDK is active
- Whether the API key is valid
- Whether the Android package and SHA-1 match
- Whether the iOS bundle identifier matches
- Whether the device has network access
Android Logcat and the Xcode console normally provide a more specific authentication error.
2. The map works in debug but not in release
Android debug and release builds usually use different signing certificates. Add the production certificate’s SHA-1 fingerprint to the Android key restriction.
3. The current-location button does not appear
Confirm that the runtime permission was granted and both properties are enabled:
myLocationEnabled: true,
myLocationButtonEnabled: true,
They should only become true after the permission check succeeds.
4. The marker does not appear
Confirm that:
- Its coordinates are valid
- Its ID is unique
- It is included in the
markerscollection - The current camera position covers its coordinates
- Another marker is not covering it
5. The API key is visible in the application
Client-side mobile keys can be extracted. Secure the key through Android or iOS application restrictions, limit it to the necessary APIs, configure quotas, and monitor its usage.
Google Maps Pricing
Google Maps Platform uses billable events, and a billing account is required.
In March 2025, Google replaced its previous recurring $200 monthly credit with service-specific free monthly usage caps. The free allowance and price depend on the API, SKU, billing region, and request volume.
Before launching:
- Review the price of each enabled API.
- Disable APIs that the application does not use.
- Configure API quotas.
- Set Google Cloud budget alerts.
- Monitor usage by API key.
- Investigate unexpected requests.
- Review India-specific pricing if applicable.
Budget alerts warn you about spending but do not necessarily stop requests. Quotas provide stronger protection against unexpectedly high usage.
When Google Maps Becomes a Core Product Feature
A simple store locator can remain mostly client-driven. Delivery, mobility, travel, and field-service applications usually need additional architecture.
That may include:
- A geospatial database
- Location-based search
- Real-time driver tracking
- Route calculation
- Route optimisation
- Offline behaviour
- Background location updates
- Location-history controls
- Secure backend APIs
- Usage and cost monitoring
When mapping becomes a central workflow rather than one screen, working with an experienced Flutter app development company can help align the mobile implementation, backend architecture, Google APIs, privacy requirements, and operating costs.
Frequently Asked Questions
Can Google Maps be added to a Flutter app?
Yes. The official google_maps_flutter package embeds Google Maps in Android, iOS, and web applications while supporting markers, polylines, polygons, camera controls, gestures, and location display.
Is Google Maps free for Flutter applications?
Google Maps Platform provides service-specific free monthly usage caps, but billing must still be enabled. Charges apply after the relevant threshold, so developers should review pricing, quotas, and budgets.
Does google_maps_flutter provide the device’s GPS location?
No. The plugin displays the map and location layer. A package such as geolocator is required to request permission and retrieve the device’s current latitude and longitude.
Why does my Flutter Google Map show a blank screen?
Common causes include disabled billing, an inactive Maps SDK, an invalid API key, incorrect Android SHA-1 restrictions, a mismatched iOS bundle identifier, or unavailable network connectivity.
Should Android and iOS use the same API key?
Separate keys are recommended. Each key can use platform-specific restrictions, making unauthorised usage more difficult and allowing Android and iOS traffic to be monitored independently.
Can google_maps_flutter calculate driving routes?
No. It displays polyline points but does not calculate road routes. Use Google’s Routes API to obtain the route geometry, duration, and distance before rendering it.
How should thousands of markers be handled?
Cluster nearby markers, load records only for the visible map area, keep marker IDs stable, and avoid recreating the entire collection whenever a small number of locations changes.
Is hiding the API key enough to secure it?
No. Mobile API keys can be extracted from distributed applications. Protect them using package, certificate, bundle-ID and API restrictions, together with quotas, billing alerts, and usage monitoring.
Our Final Words
Adding the GoogleMap widget is only the first part of a dependable Flutter Maps integration. The keys must be restricted correctly, permissions must be requested carefully, and the map should remain useful when location access is unavailable.
Start with the basic map and add only the services the product genuinely needs. As the number of locations grows, introduce clustering, visible-area queries, and backend geospatial support before performance becomes a problem.
That approach produces a map feature that works during development and remains secure, understandable, and manageable after the application reaches real users.